Navigating the modern digital landscape often means encountering content in a multitude of languages. Whether you’re a student researching international studies, a professional collaborating with global teams, or simply an avid reader of foreign websites, the ability to quickly and efficiently translate text is invaluable. For macOS users, this need can be met with remarkable ease and speed, thanks to the power of custom shortcuts. This guide will walk you through setting up and utilizing a seamless macOS translation shortcut, specifically leveraging the capabilities of Linguin, your AI-powered translation companion.
Why a macOS Translation Shortcut is a Game-Changer
Imagine you’re reading an insightful article on a French news site, or perhaps a colleague sends you an email written in Mandarin. Traditionally, you might copy the text, open a separate translation website or app, paste it in, and then wait for the translation. This process, while functional, interrupts your flow and can be time-consuming.
A macOS translation shortcut fundamentally changes this. By assigning a specific keyboard combination or a system-wide service, you can select text anywhere on your Mac – in a web browser, a document, an email, or even a PDF – and instantly have it translated. This not only saves you significant time but also makes cross-lingual understanding feel effortless. It transforms your Mac into a truly global communication tool, where language is no longer a barrier but a bridge. Linguin, with its advanced AI and intuitive design, is perfectly positioned to power such a shortcut, offering accurate and contextually relevant translations across numerous languages.
Setting Up Your Linguin-Powered macOS Translation Shortcut
The beauty of macOS lies in its flexibility and the robust tools it provides for customization. We’ll be using a combination of macOS’s built-in “Services” feature and the powerful capabilities of Linguin to create your shortcut.
Step 1: Ensure Linguin is Installed and Ready
Before we dive into the shortcut creation, make sure you have Linguin installed and configured on your macOS device. Linguin is available as a standalone app for macOS, ensuring deep integration with your system. You can download it from our website or the Mac App Store. Once installed, familiarize yourself with its basic functions, like selecting text and initiating a translation. Linguin’s adaptive learning capabilities mean that with each translation, it gets even better at understanding your specific needs.
Step 2: Accessing macOS Services
macOS has a powerful feature called “Services” that allows applications to perform actions on selected text or data. Many applications, including web browsers, text editors, and email clients, can utilize these services. We’ll create a new service that tells macOS to use Linguin to translate selected text.
- Open Automator from your Applications folder. You can find it by searching in Spotlight (Cmd + Space) or by navigating through your Applications folder.
- When Automator opens, you’ll be prompted to choose a document type. Select Quick Action and click Choose.
- At the top of the workflow window, you’ll see some options.
- Image: You can leave this as default or choose an icon if you wish.
- Workflow receives current: Change this dropdown to text and the one next to it to in any application. This tells the service to expect text input from any app.
- Output replaces selected text: Leave this unchecked for now, as we want to display the translation rather than replace the original text.
Step 3: Adding the Linguin Action
Now comes the core of creating our translation service. We need to tell Automator to pass the selected text to Linguin for translation.
-
In the left-hand pane of Automator, search for the action called Run Shell Script.
-
Drag and drop Run Shell Script into the workflow area on the right.
-
In the Run Shell Script action settings:
- Shell: Leave this as
/bin/bash. - Pass input: Change this to as arguments. This is crucial for passing the selected text to Linguin correctly.
- Shell: Leave this as
-
In the text area below, you will paste a specific script. This script tells your Mac to take the selected text (passed as arguments) and feed it into Linguin.
Here’s the script you need to paste:
# Check if Linguin is running, if not, launch it
if ! pgrep -xq "Linguin" > /dev/null; then
    open -a "Linguin"
    # Give Linguin a moment to launch
    sleep 2
fi

# Construct the AppleScript command to tell Linguin to translate
# $1 represents the first argument passed to the shell script, which is our selected text.
osascript -e '
tell application "Linguin"
    translate selection with options {detection: true, target: "auto"}
end tell
'
Explanation of the script:
pgrep -xq "Linguin": This checks if the Linguin application is currently running in the background.open -a "Linguin": If Linguin isn’t running, this command launches it.sleep 2: A short pause to ensure Linguin has fully opened before attempting to send it a command.osascript -e '...': This executes an AppleScript command. AppleScript is macOS’s scripting language that allows applications to communicate with each other.tell application "Linguin": This targets the Linguin application.translate selection with options {detection: true, target: "auto"}: This is the Linguin-specific command.translate selection: Tells Linguin to process the text that was passed to it.with options {detection: true, target: "auto"}: These are important parameters.detection: true: Instructs Linguin to automatically detect the source language of the selected text.target: "auto": Tells Linguin to automatically determine the best target language for translation. You can change"auto"to a specific language code (e.g.,"en"for English,"es"for Spanish,"fr"for French) if you always want to translate to a particular language.
Step 4: Saving Your Service
- Go to File > Save in Automator.
- Give your service a descriptive name, such as Translate with Linguin.
- Click Save.
Your new service is now created! You can find it within the “Services” menu of most applications.
Assigning a Keyboard Shortcut to Your Translation Service
Having a service is great, but the real power of a shortcut comes from assigning it a keyboard combination.
- Open System Settings (or System Preferences on older macOS versions).
- Navigate to Keyboard in the sidebar.
- Click on Keyboard Shortcuts….
- In the left-hand pane, select Services.
- Scroll down in the right-hand pane until you find the General section (or a section matching the name you gave your service). You should see your “Translate with Linguin” service listed there.
- Click on your service. To the right of its name, you’ll see a field where you can assign a shortcut. Click in this field.
- Press the keyboard combination you want to use. Common and effective shortcuts include combinations with Control, Option, and Command keys, such as
Control + Option + Command + T. Important: Choose a shortcut that isn’t already in use by your system or other applications to avoid conflicts. If you choose one that’s already in use, macOS will warn you. - Close System Settings.
Congratulations! You have now successfully set up a custom macOS translation shortcut powered by Linguin.
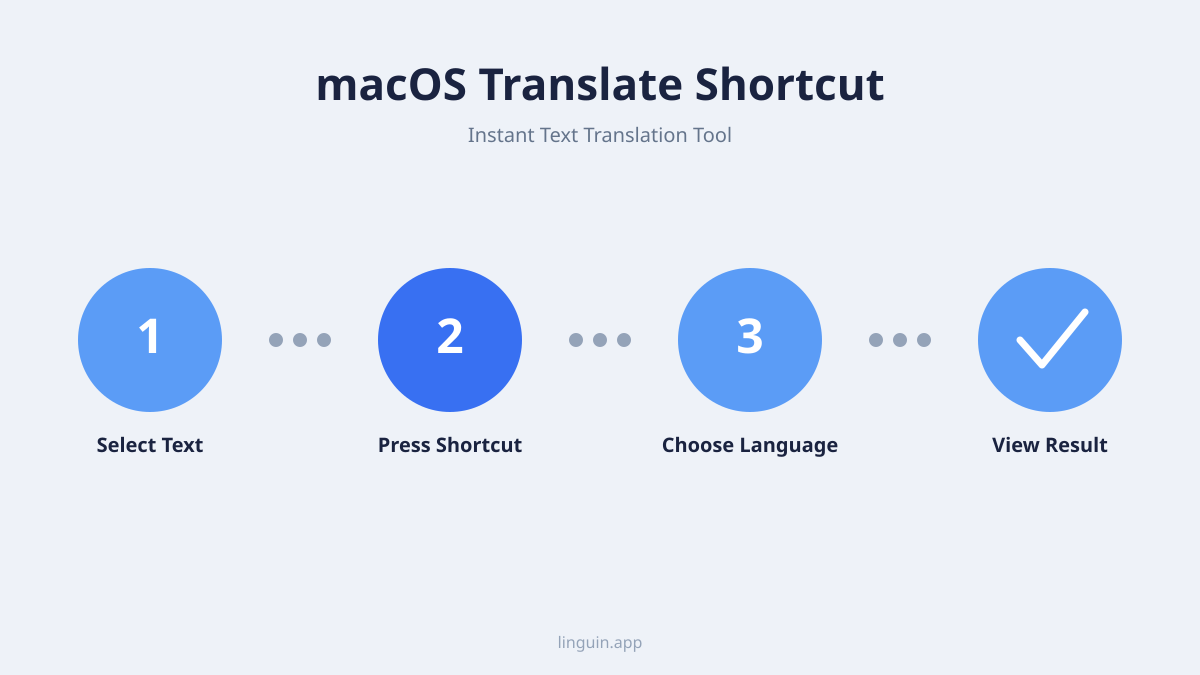
Putting Your Translation Shortcut to the Test
Now it’s time to experience the magic.
- Open any application where you can select text (e.g., Safari, Mail, Pages, Notes).
- Find some text in a foreign language.
- Highlight the text you want to translate.
- Press the keyboard shortcut you assigned (e.g.,
Control + Option + Command + T).
If Linguin is not already running, the script will launch it. Then, Linguin will automatically detect the source language and translate the selected text. The translated text will typically appear in a pop-up window or a dedicated Linguin panel, ready for you to read and use.
Customizing Your Translation Experience Further with Linguin
The shortcut we’ve created is highly flexible, and Linguin itself offers a wealth of customization options to enhance your translation workflow:
- Target Language: As mentioned in the script explanation, you can change
"auto"to a specific language code if you frequently translate to a particular language. For example, to always translate to English, you would modify the AppleScript line to:translate selection with options {detection: true, target: "en"}. - Translation Quality: Linguin uses advanced AI models that continuously improve. For most common use cases, the default settings provide excellent accuracy. However, for highly technical or nuanced text, you might find yourself referring back to the full Linguin app for more in-depth context or alternative translations.
- Offline Translation: Depending on your Linguin subscription and settings, you may have access to offline translation models, allowing you to translate even without an internet connection – a lifesaver when traveling or in areas with poor connectivity.
- Integration with Other Apps: Beyond this custom shortcut, Linguin offers dedicated extensions for Chrome and Safari, as well as a robust iOS app, ensuring a consistent and powerful translation experience across all your devices. This means you can seamlessly translate web pages directly in your browser or translate text messages on your iPhone, all powered by the same intelligent AI.
Troubleshooting Common Issues
While the setup is generally straightforward, here are a few tips if your shortcut isn’t working as expected:
- Check System Settings: Double-check that the keyboard shortcut is correctly assigned in System Settings > Keyboard > Keyboard Shortcuts > Services. Ensure there are no typos in the service name you’re looking for.
- Verify Automator Workflow: Re-open your “Translate with Linguin” workflow in Automator. Make sure the “Workflow receives current” is set to “text in any application” and that the “Run Shell Script” action is correctly configured with “Pass input as arguments.”
- Linguin Permissions: Ensure Linguin has the necessary permissions on your Mac. You might need to grant it accessibility access or other permissions in System Settings > Privacy & Security, depending on your macOS version.
- Linguin Running: Confirm that Linguin is either running or can be launched by the script. Try opening Linguin manually first to see if it functions correctly on its own.
- Correct Script: Carefully re-copy and paste the shell script into Automator. Even a small typo can prevent it from running.
Conclusion: Embrace Effortless Multilingualism
The macOS translation shortcut is more than just a convenience; it’s a productivity booster that empowers you to engage with the world’s information without linguistic hesitation. By integrating Linguin’s sophisticated AI translation capabilities with macOS’s powerful automation features, you can transform how you interact with text in different languages. Set up your shortcut today and unlock a world of seamless communication, research, and collaboration. Linguin is here to help you break down every language barrier, one translation at a time.